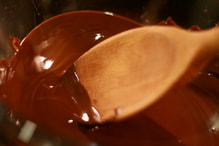
 With Valentine's just around the corner I start to plan what menu items will I offer what should I teach in my classes, what will I do for my husband. to be honest it is one of the few occasion's I don't have to cook a big meal, we typically go out for a special dinner. I love looking over all the special menus that are planned for this holiday and take the opportunity to try new and exciting things. As with everything else this year will be different. I expect to spend this holiday at home. Not be able to go out an enjoy the festive menus doesn't mean I can have some amazing food, it just means I will be making it this year. in order to not spend the entire day cooking I m planning a simple elegant desserts. I love this recipe, it is simple enough for all levels of ability and can be elevated an adjusted to meet your prosomal preferences. Its a fundamental chocolate truffle recipe. Although chocolate can be intimidating it doesn't have to be. This recipe allows you to test your hand a chocolate without breaking the bank or taking up to much time. You can turn this into a romantic date night activity, a "Galantines" night( just add a wine!), or a fun family activity! This recipe calls for three ingredients, all of which can be substituted or adjusted to your preferences. this recipe Calls for canned coconut milk, semi-sweet chocolate, and powdered sugar. Lets start with substitutions for the coconut milk, you can use heavy cream or coconut cream for this. I know silk makes a heavy cream alternative but I have not tried it because I am allergic to soy. Next is the chocolate, use your favorite brand I prefer Guittard chocolate. If you like a sweeter taste swap the semi sweet chocolate for milk, or do have milk and have semi-sweet if you want it a little sweeter but not all the way to milk chocolate sweet. These are pretty dark, so you may need to adjust to your preferences. The last substitution option is for the powdered sugar, if your daring you can swap this with cocoa powder. That may be to rich for even me. Those of you looking for a middle ground can do half cocoa powder and half powdered sugar mixed together. If you want to be more fun and festive use sprinkles to coat you truffles. If you are comfortable with chocolate step up this recipe by infusing your cream with your favorite berry, tea, or spice if your are feeling adventurous. Dip your formed truffles in melted chocolate and top with festive sprinkles or a chocolate drizzle. As you can see this recipe has some many options to expand your creativity and allows for flexibility for special dietary request. This recipe can actually be Vegan if you use the right brand of chocolate and powdered sugar.
2 Comments
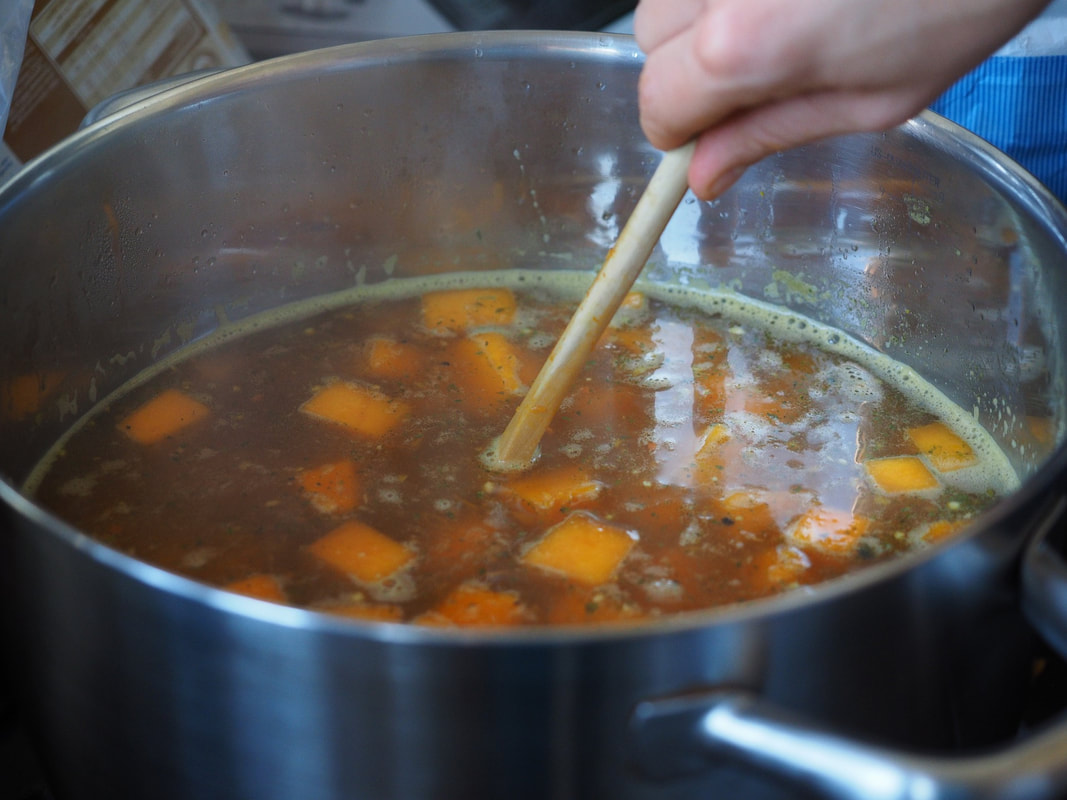
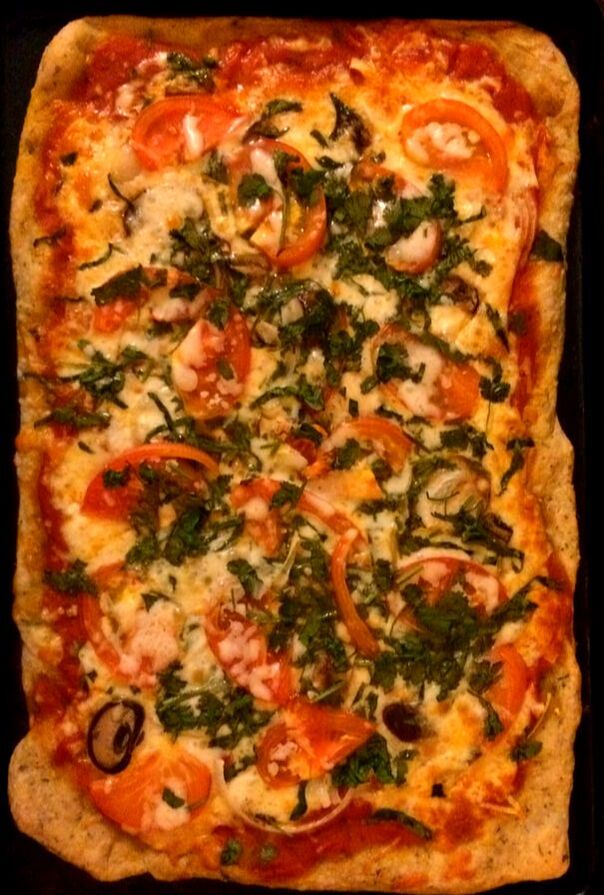
 Let me start by saying I love cookies. Growing up my mom made the best chocolate chip cookies on the first day of school each year. She did this through college and picked that habit back up when I became a teacher. She continued this tradition mostly because I would constantly remind her or "ask" her if she would be making cookies this year. Being that it is the holiday season and the best thing to give friends and family, in my opinion, is a cookie tray. This time of year, everyone gets in the spirit if they have a good sugar cookie. I'm going to share with you my sugar cookie recipe. It is a relatively easy recipe, and it has not failed me yet, even with the most ornate shaped cookie cutters. The key to most sugar cookie recipes is to chill the dough, but this is a pain. I mean, come on, you have to chill the dough for 30 minutes. Once the dough has chilled, it is too hard to roll out, so you have to wait 30 more minutes to roll it out. For this reason, my recipe does not call for chilling the dough before you roll it out. In my recipe, you will prepare the dough then roll it out to about 1/4 thick. Next, cut the dough into your shapes and chill the cookies before baking them. Sugar cookies should never be, rolled out, thinner than a 1/4 inch thick. If you roll them out thicker, you will have a beautiful cookie; that is crisp on the edges and just the right amount of soft in the middle. Be sure to bake the cookies all the way through. There is a difference between soft and raw in the middle. Sugar cookies have a higher sugar content, so they tend to brown, which will infuse a beautiful flavor but can quickly turn to burnt. I believe a sugar cookie, should be baked between 325 degrees and 350 degrees Fahrenheit. I like my sugar cookies less crispy, so I bake them at a lower temperature for a few more minutes. Once your cookies are baked and completely cooled, it is time to start decorating them. Typically sugar cookies are decorated with royal icing. Which, can be made by using convenience products like a royal icing mix or the semi-homemade version using meringue powder and powdered sugar. It can also be made pretty easily, with egg whites and powdered sugar. This cookie is extra sweet. So, I like to replace the vanilla extract that is traditionally used with lemon or peppermint. This gives a nice contrast to the intense sweetness of the cookie and icing. The great thing about sugar cookies is they are a blank slate that allows for creativity to flourish. Yields about 12 cookies depending on the cutter. INGREDIENTS ½ cup butter ½ cup of sugar 1 large egg ½ teaspoon baking powder 1 teaspoon vanilla 1 ¾ cups flour DIRECTIONS Preheat oven to 350ºF. In a large bowl, beat butter and sugar with an electric mixer until light and fluffy. Beat in egg and extracts. Mix flour, baking powder, and salt; add to butter mixture 1 cup at a time. Mixing after each addition. Divide dough into 2 pieces. On a floured surface, roll each piece into a circle approximately 1/4 inch thick. Dip cookie cutter in flour before each use. Cut using the desired shape, minimize reusing the dough by cutting shapes close together. Place cut cookies on a parchment-lined baking sheet and chill in the fridge for 10-15 minutes. Bake cookies on the same sheet pan at 350 for 8-11 minutes or until cookies are lightly browned on the bottom. *Tip: use a spatula to lift the cookies and check the color of the bottom of the cookie, once it is evenly browned, your cookies should be done. Sugar cookie bake times vary, based on the size and shape of the cookies. Time frames in this post are my best guess on average. When it is cold and raining, or I'm feeling under the weather, this chicken noodle soup is my go-to. The warm cozy smell of soup simmering on the stove is so comforting on a cold, dreary day. I am excited to share with you not only this soup recipe but a few more of my favorite cold-weather go-to recipes. I do not know if there is science behind this theory or not, but I am pretty sure that chicken noodle soup is the cure for the common cold and flu. It does include lots of essential nutrients and all the main food groups. Chicken noodle soup is a cozy and tasty cure-all for the cold winter. When I make soups, I typically make my stock from scratch. I do this primarily because I always have the ingredients on hand, and I can save a little money. However, I don't always plan ahead, and sometimes I find myself in a pinch. When that happens, I use store-bought stock. The stock is simple. I start with vegetable stock first. Always start with cold water and add roughly chopped vegetables; this should include onions, celery, and carrots. This mixture is called a Mirepoix. These are the traditional vegetables used; it doesn't have to be the whole vegetables. I use the scraps that I wouldn't serve; for example, celery tops(the leafy parts) are great for stock, carrot peels(washed, of course). Sometimes I use other vegetables as well. I enjoy adding leek tops, mushroom stems, add the stalks of fresh herbs when making stock. Things to avoid adding to stock are green beans, zucchini, and squash. These turn bitter when simmered. It is also important not to put starchy vegetables in your stock because this will thicken the stock. Make sure your water covers the chopped vegetables by about an inch; add aromatics(whole cloves, bay leaves, and parsley stems), and bring to a simmer. When your stock is at a simmer, it should cook for 30-40 minutes. Strain out vegetables and herbs. You can use it immediately, store it in an airtight container for 3-days, or freeze it for up to 3-months. Now that you know how to make vegetable stock making chicken stock is as simple as adding the chicken bones to your vegetables. You can add chicken bones from a raw or cooked chicken; you can also add pieces of skin not used when cooking the chicken. You then simmer these ingredients for up to 6 hours. I suggest skimming the top of your stock to remove the foam that will develop, as well as excess fat. To make the soup, you should start with a deep pan and sauté your vegetables in some butter until soft. Add chicken stock, vegetable stock, and cooked chicken (shredded or diced). Then bring it to a boil and add the noodles of your choice. My preferences are either noodles from scratch or extra wide egg noodles. The egg noodles are hearty enough to stand up to this soup and add additional protein. Then serve with your favorite type of bread and enjoy a warm winter meal. You can curl up with a good blog, book, or tv show and enjoy a winter afternoon.   We are going to start with a crowd favorite because everyone loves pizza. You can top it with all of your favorite things plus, it doesn't require a lot of dishes. The first thing to start with is the pizza dough; it's pretty simple to make, as long as you don't overheat the yeast. The best rule of thumb when working with yeast dough is; if your liquid is too hot to stick your finger in then it's too hot for the yeast to grow. You must also make sure your water is not too cold either because it will slow down the process of leavening. Run the water from your kitchen faucet until it is warmer than body temp (so warm to the touch) but not hot, and this should be the sweet spot for the dough. How does yeast work, its simple yeast is revived in warm water, and when it is, reanimated it's hungry. This hungry single-celled organism needs food, and yeast feeds on sugar. Make sure that when you're adding yeast to the liquid, you add the sugar from the recipe in the same bowl. Yeast feeds off of the sugar. In the words of my friend Katie, "it farts out bubbles" we work with high school students. This is the carbon dioxide that is responsible for the growth of your dough. When you bake your dough, you should be left with tiny little pockets inside the dough that resemble bubbles because they were bubbles. When the dough is baked it kills the CO2 farting organism and leaves behind nice light air-filled dough. Give the dough time to rest after you mix it. The gluten will develop and give your dough a nice stretchy consistency. Then knead baby, knead; work the dough and your arms. Stretch and fold the dough for 5 minutes or so; this will help stretch the gluten even more. Now it is time to let the yeast do the work; let the dough rest in a warm(not hot place) for about 30 minutes. This allows the dough to rise and nearly double in size, as the yeast creates lots of bubbles. Once you have a dough monster, punch the dough down and get to shaping your crust. There are many ways to do this, and everyone has a different version; but, I'm going to share a couple of my favorites. The first is rolling out a crust; you can use a rolling pin, a smooth round glass cup, or even a wine bottle for this. Be sure to start with your dough in the shape you want it to end up. By this, I mean squish your dough into a rectangle if you want it to baken it on a cookie sheet (my preference). If you prefer a round pizza, start your dough in a round ball. Then roll it from the center to the edge. You are pushing the air out to the edges of the dough, be sure not to run your rolling tool off the edge of the dough. Doing this will, push all the air out of the dough, giving you a thinner crust pizza (if this your preference, roll over the edge). The other technique that I like to use is, pushing a pizza. It is as it sounds. Start in the middle of the pizza and push the dough out with your hands. I prefer to use my hands as often as possible when cooking. The best way to know how the food is going to turn out is by feeling it. Also, I hate to wash dishes so, the fewer I have the, better. Work your way out to the edge of the dough, pushing firmly but not hard. You don't want to tear the dough; a taller edge should form, becoming the crust for your pizza. Then you place your dough on a light cornmeal-coated baking sheet (not a must, but it does help make a crispier crust) and let it sit for 20 minutes so it can rise again. While your dough is rising, preheat your oven to 450 degrees. If your oven is hot to start with, your crust will bake more evenly and develop a beautiful golden crispy crust. Add your sauce and toppings; I am a fan of sundried tomatoes, roasted garlic, and parmesan on my pizza. Then bake your pizza for 15-20 minutes. Yield 1 half-sheet pan sized pizza Ingredients: 1 tablespoon of yeast 1 teaspoon white sugar 1 cup of warm water 2 1/2 cups flour 2 tablespoons olive oil 1 teaspoon salt Toppings and sauce of your choice Directions: 1. In a medium bowl, dissolve yeast and sugar in warm water. Let stand until creamy, about 5 minutes. Stir in flour, salt, and oil. Mix Let rest for 5 minutes Knead dough on a lightly floured surface for 3-5 minutes. Wrap dough loosely and set in a dry, warm place for 30 minutes. Roll out dough to form your crust. Using your hands or a rolling pin, roll your dough out to the shape of your pan. Sprinkle 1 tsp. of cornmeal on your pan to get a crispier crust. Preheat your oven to 450 degrees Fahrenheit, let the crust set for 20 minutes; it will rise again. Bake in your preheated oven for 20-25 minutes. *Recipe note the more toppings you add, the longer it will take for the dough to bake through. It may require more time if you enjoy extra toppings. |
AuthorChef Amanda Rose has been working in the culinary arts industry for over 10 years. She has a passion for this business and now includes teaching in her culinary tool box. Categories
All
Archives
February 2021
|
